How to photograph the milky way for beginners
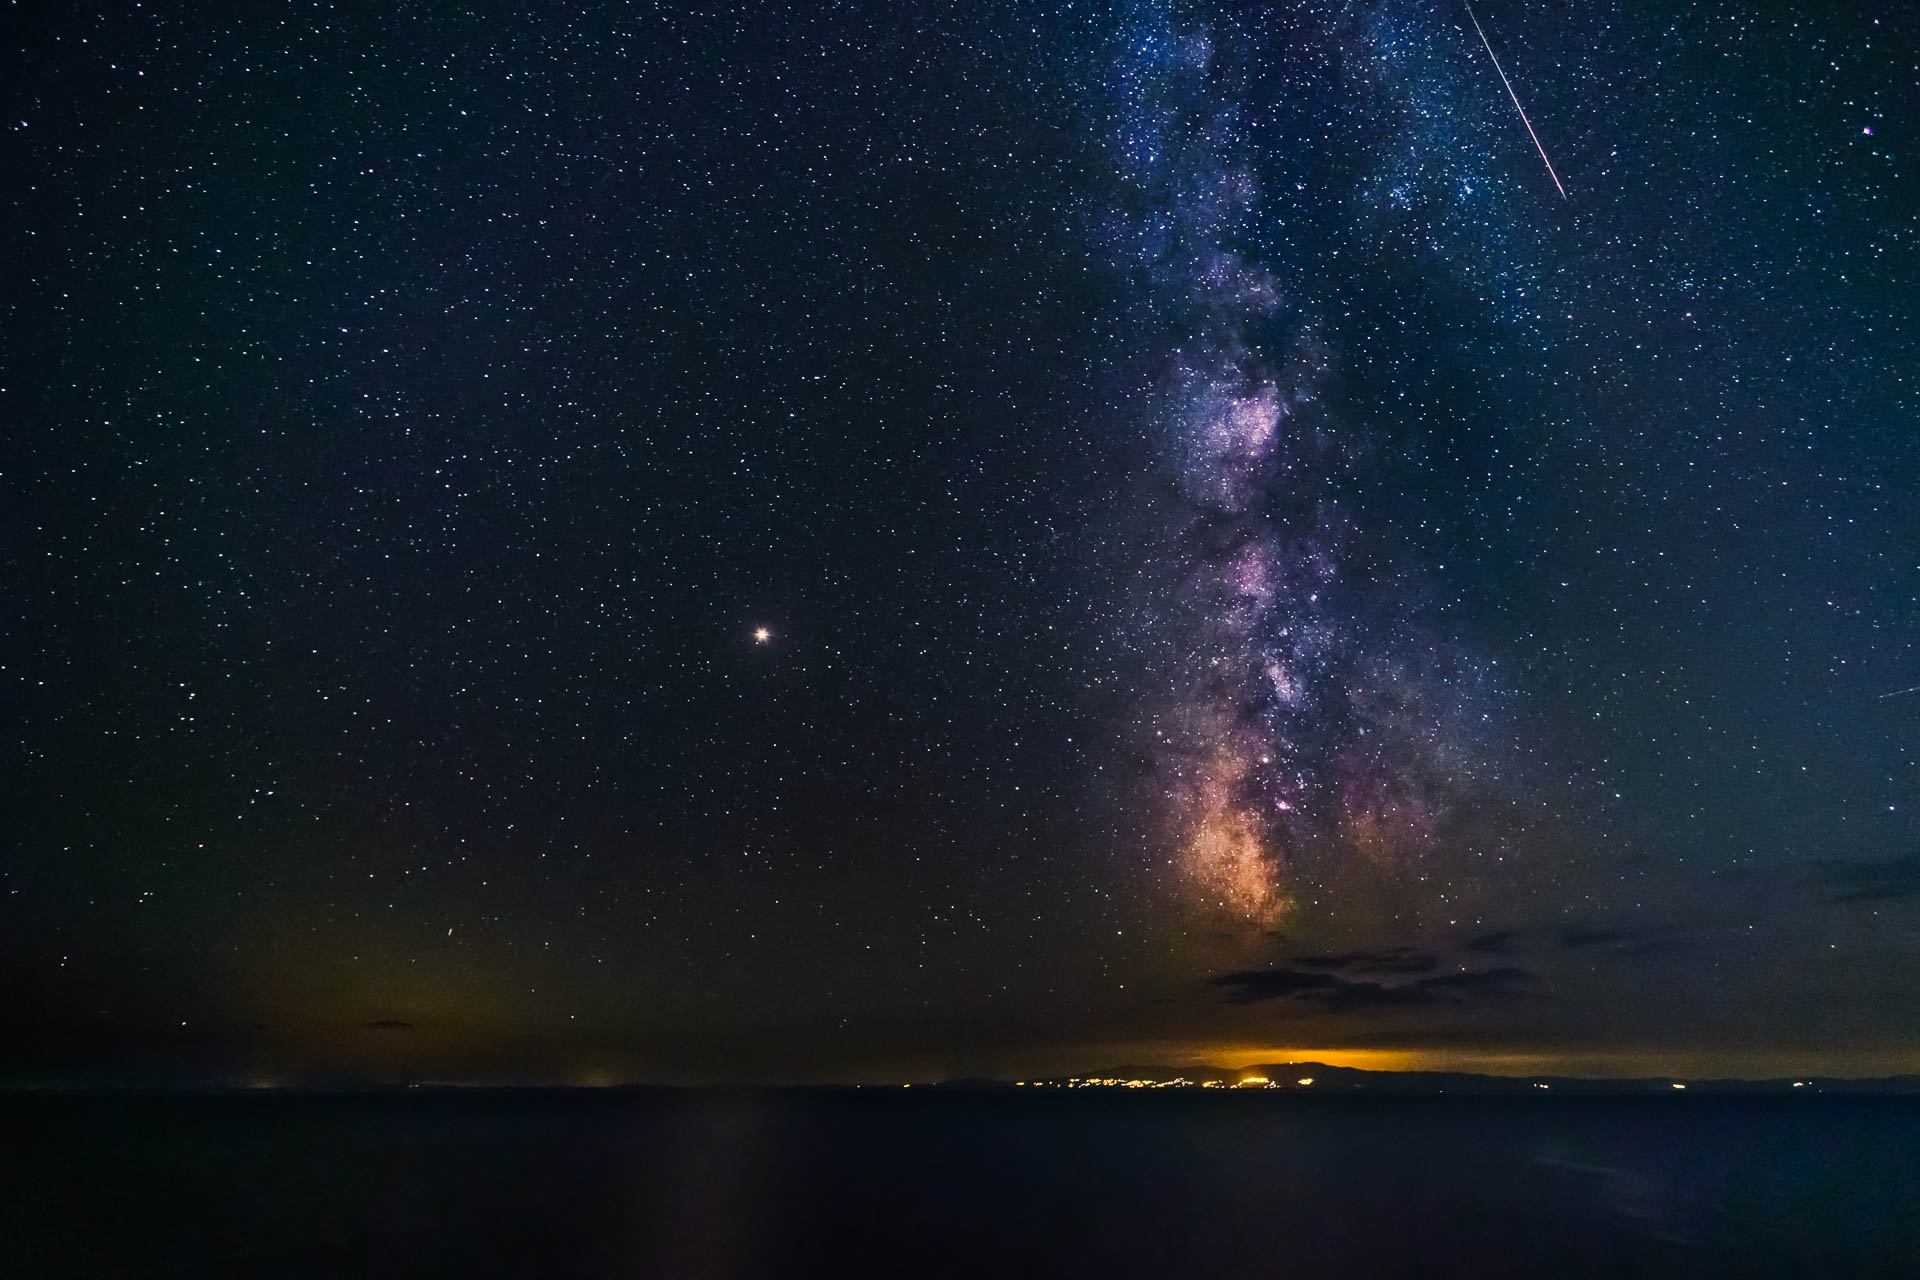
I always found fascinating the milky way and the night sky since I was a little kid. When I got my first DSLR camera I started experimenting with astrophotography by photographing the milky way and star trails. In this tutorial I will share with you some information to help beginners get started and photograph the milky way.
Basic gear
A camera with manual exposure control of aperture, shutter speed and ISO. And manual focus as well. Of course a full frame camera would be better since it handles better noise in high ISO. But an APSC sensor will also do the job. It doesn’t really matter whether it is a DSLR or a mirrorless camera.
A wide angle and fast lens. A wide lens means you can get a bigger part of the milky way in your frame as well as part of the foreground to achieve a good composition. Something like 14mm for full frame or 10mm for APSC will be ok. Also a fast lens will allow you to capture more light and keep ISO lower in order to avoid noise. Something like f/1.4 and f/2.8 would be ideal.
A sturdy tripod. Since you will have to take exposures of many seconds you have to be sure that your camera will stay still. Even the slightest movement will ruin your photo.
Good to have gear
A headlamp with white and red light so that you can find your way in the dark and not ruin your night vision. Moreover you can use it to light paint the scene!
A remote release cable to avoid camera shake and take consequent shots. Use this to trigger your shutter. Alternatively you can always set a timer of 2 seconds so that the camera will stabilize before taking the shot.
Dark skies, light pollution and the moon
First of all in order to photograph the milky way you must find dark sky. This means getting away from big cities to avoid light pollution. A light pollution map will help to find such a location. Of course there are such applications for Android and iOS as well. Moreover since you need the darkest sky possible you should schedule your photo shooting around new moon.
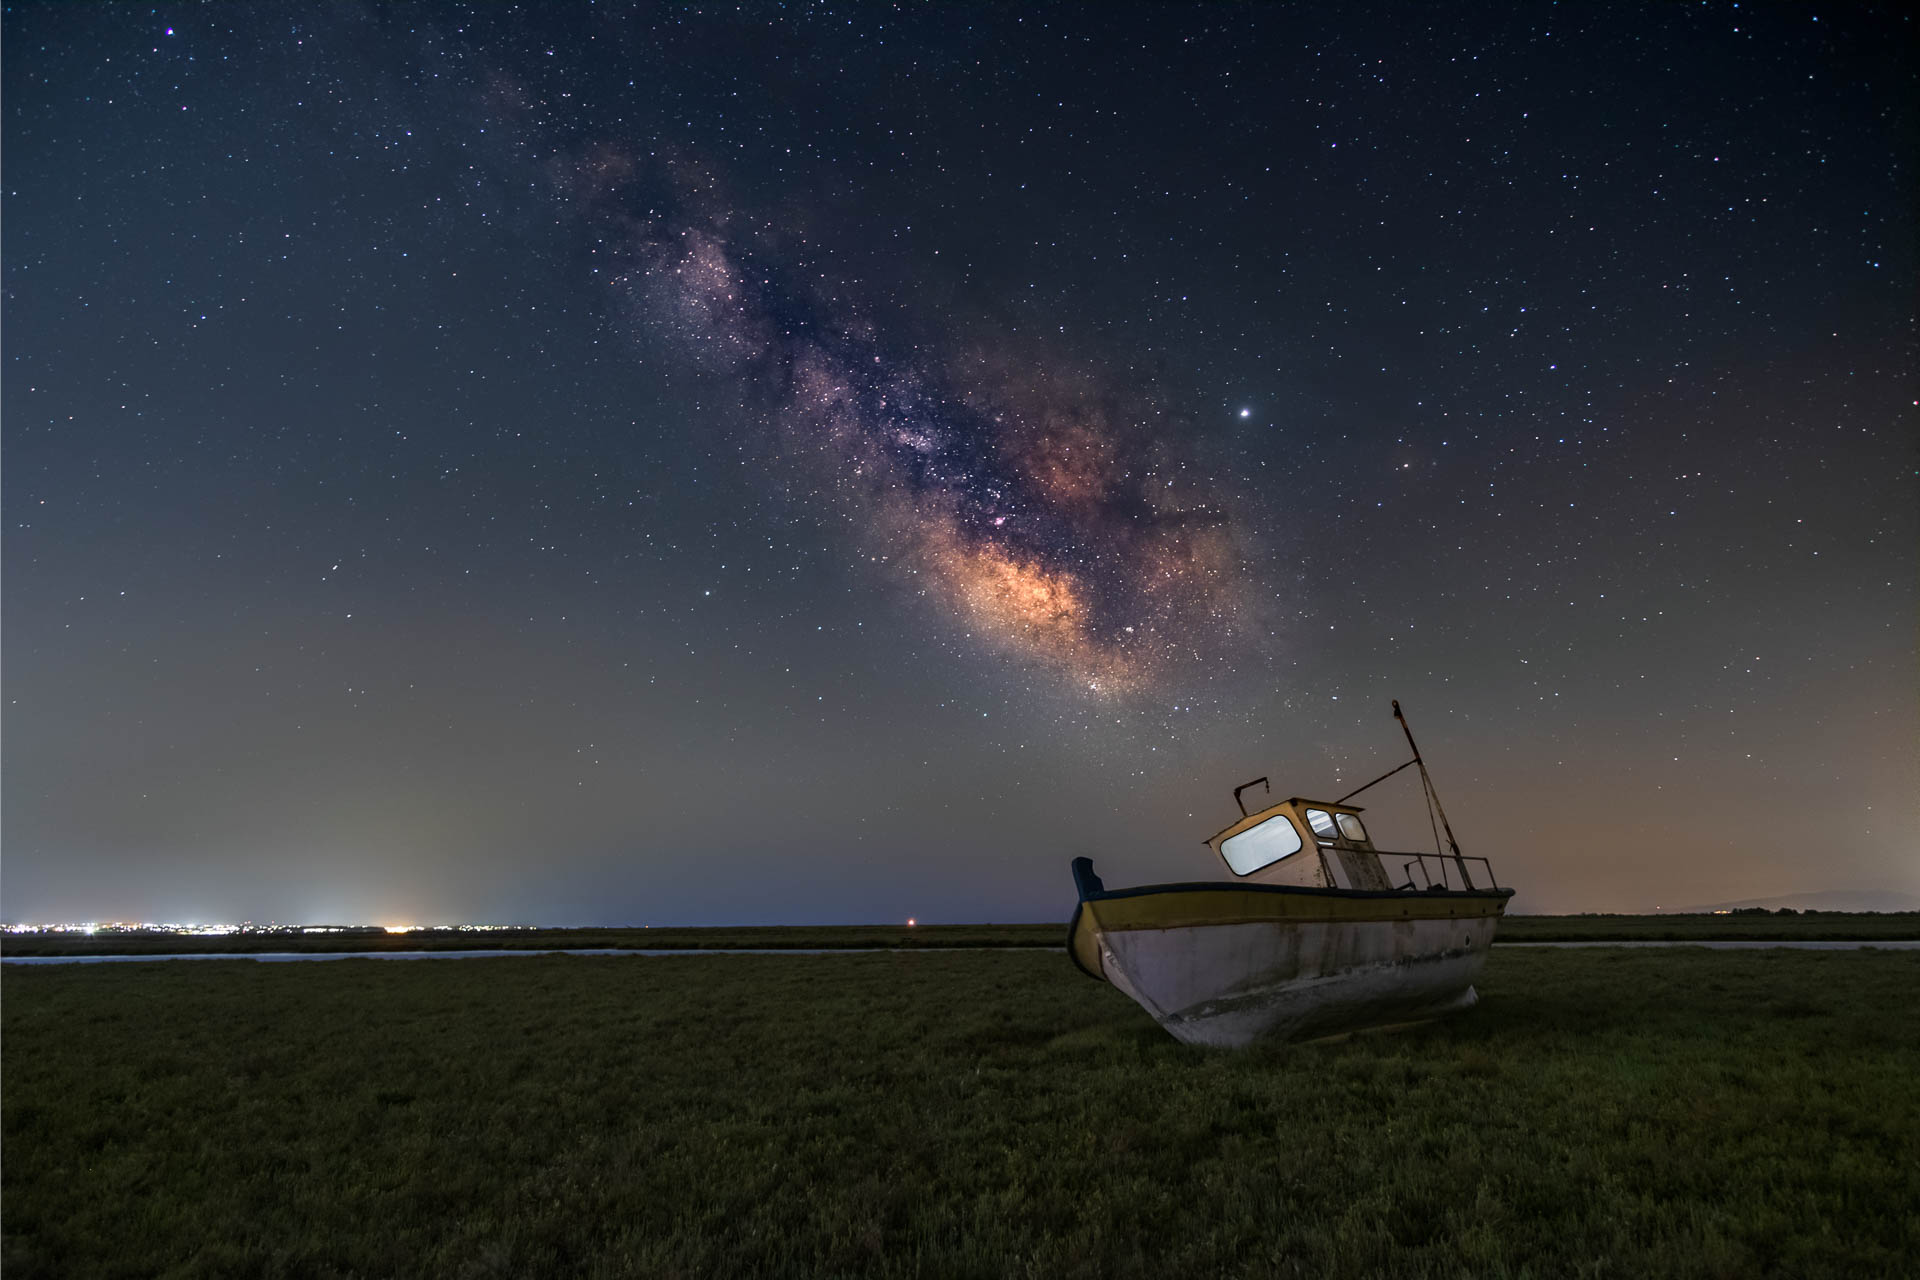
Focusing at night
Probably the biggest problem when I first started taking pictures of the milky way was focusing. There are a couple of different ways to focus correctly at night. First set your aperture to the widest possible (or the one you have chosen to shoot with).
If there is a light source far away you can use this to auto focus on it and afterwards change your lens to manual focus and keep it like this the whole night. Press your shutter up to half so that your camera auto focuses and without leaving it change your lens to manual focus. There should be a button for this on it. Now you can leave the shutter button and your lens will keep this focus. Just remember to change it back to auto focus when you finish.
If your lens has a focusing distance ring you can usually set it to infinity and afterwards take it back a little to have everything in focus. Another way is to find a bright star in the sky and use this to manually focus using your live view screen.
Alternatively if you have a mirrorless camera that shows you the focus distance you can use this to manually focus to infinity. Of course if you have a foreground element pretty close to you you might need to focus stack in order to have everything in focus.
No matter which method you choose I suggest to switch to live view mode and zoom in on your screen. Check your stars so that they are as sharp as possible by playing with the focus ring of your lens.
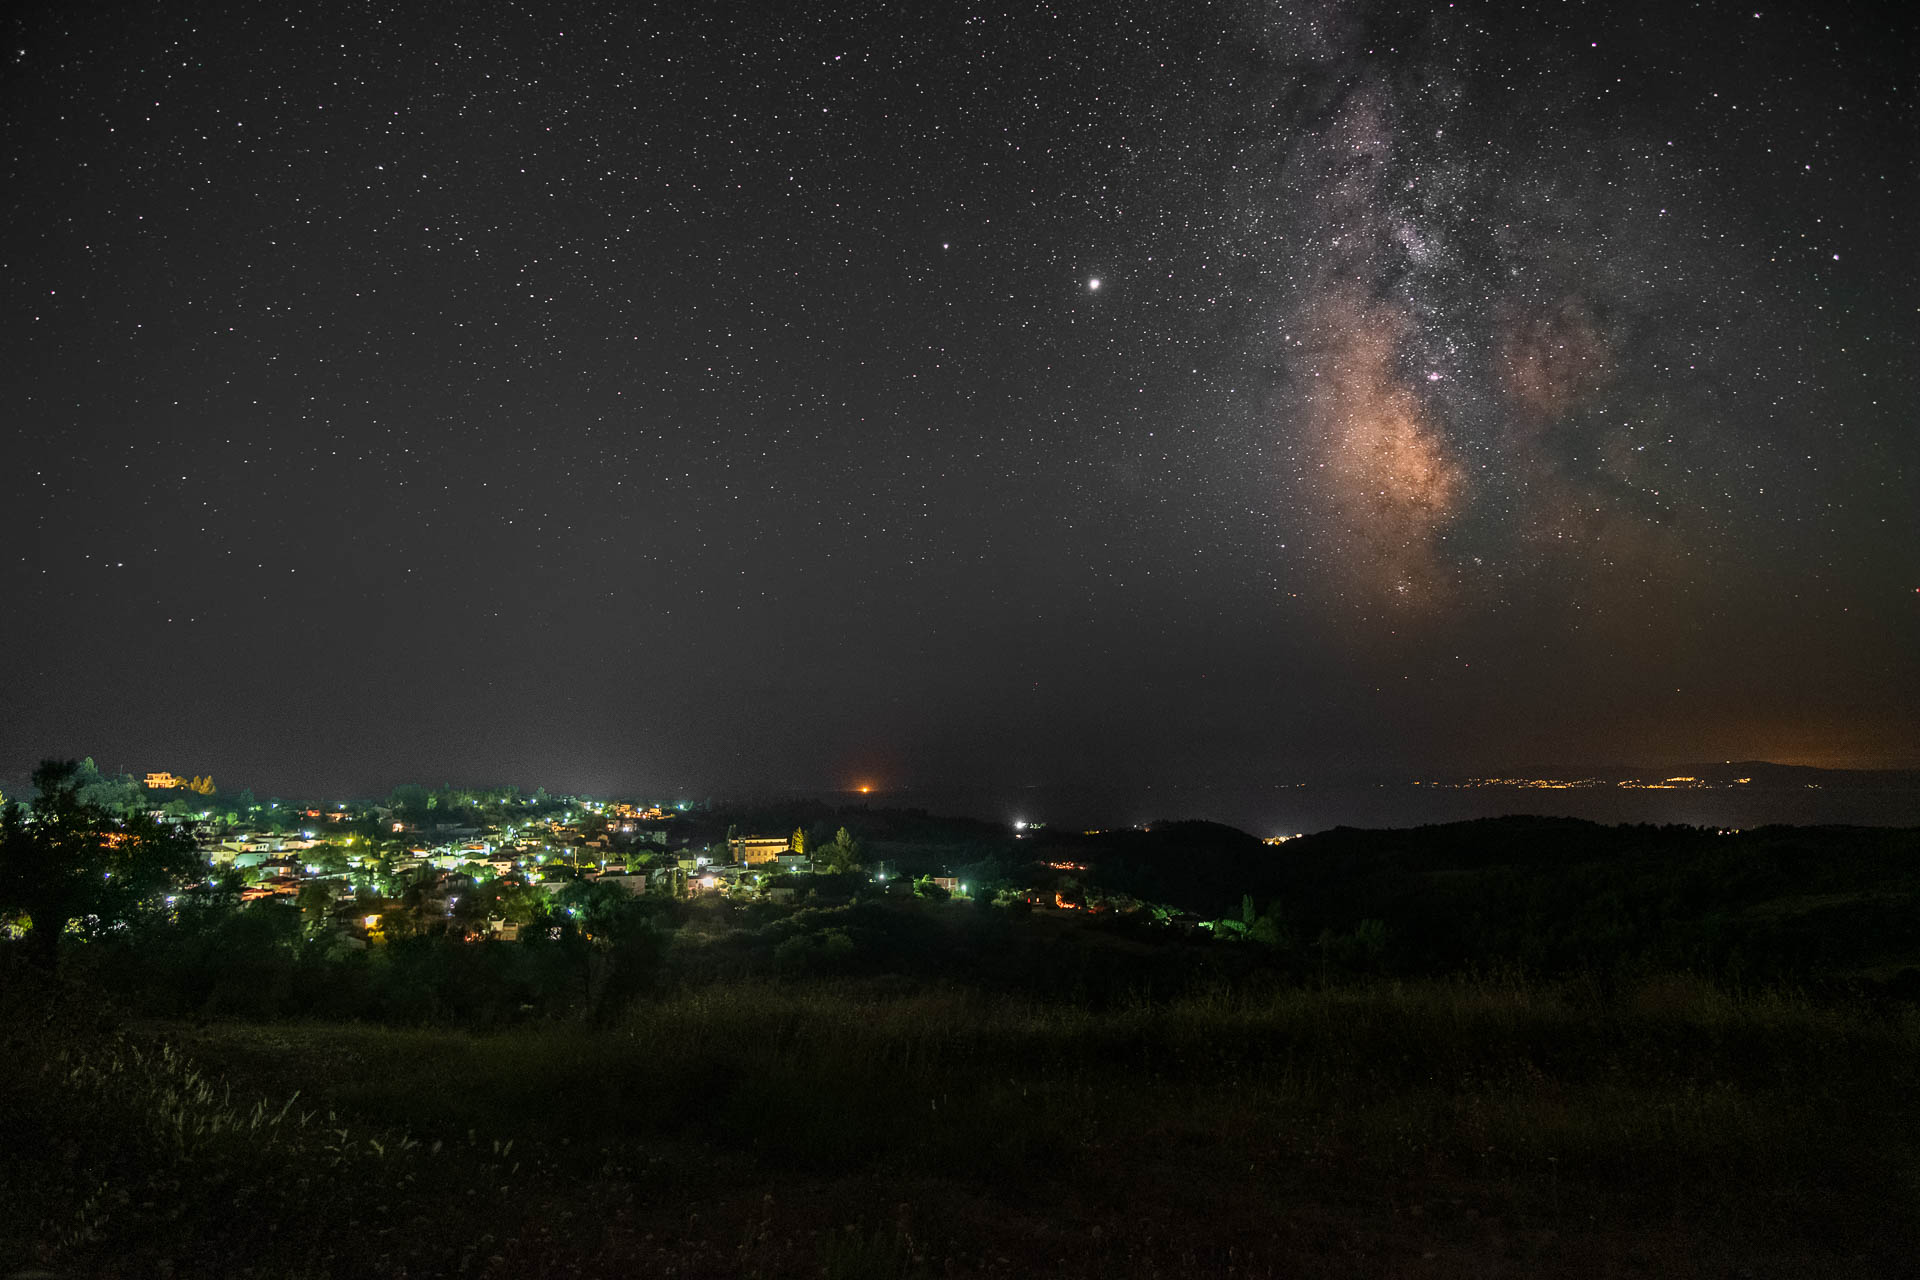
Camera Settings
First set your lens to its widest possible apperture, let’s say f/2, or 1 stop up, f/2.8, since it will usually be a little sharper there. Remember you have to get as much light as possible.
Next switch your camera to manual mode and set ISO to the highest one in which you get reasonable noise. For APSC sensors this would be something like 1600 or 3200. For full frame cameras you can go with 3200 or 6400 for start.
Next you will have to find the shutter speed. Since earth and the stars are constantly moving if you set your shutter speed too high you will end up with star trails and a blurry milky way. You can follow the 500 rule. To determine the optimal exposure time, take 500 and divide it by the effective focal length of the lens
exposure time = 500/(crop-factor × focal length)
A full frame camera has a crop factor of 1 while an APSC camera has a crop factor of 1.5. For example if you are shooting with a 20mm lens on a full frame camera, you divide 500 by 20, which yields 25 seconds. That’s the longest shutter speed you should use before star trails start to appear. But since this rule seems fails to work correctly with modern cameras you might have to make your shutter speed even shorter. I advise to use this star trails calculator which uses the NPF rule which is most suitable for modern cameras. You can always test and see what satisfies you.
Finally you have to shoot RAW in order to post process your photographs and get the most details and color out of them. This way you can also change the white balance afterwards to something that looks pleasing to you. I leave my white balance to auto always and I change it at post.
Composition
Shooting the milky way on its own can look great at the beginning at least. However it’s always a good idea to find a wonderful location to incorporate with the milky way. A strong foreground element always helps. Try to tell a story with your photo.
Extra tip
I use a mobile application called Photo Pills to help me with my milky way shots. It can show you the position of the milky way, how much visible will it be, when it’s galactic center will appear and also calculate the shutter speed to avoid moving stars. It’s available for both Android and iOS.
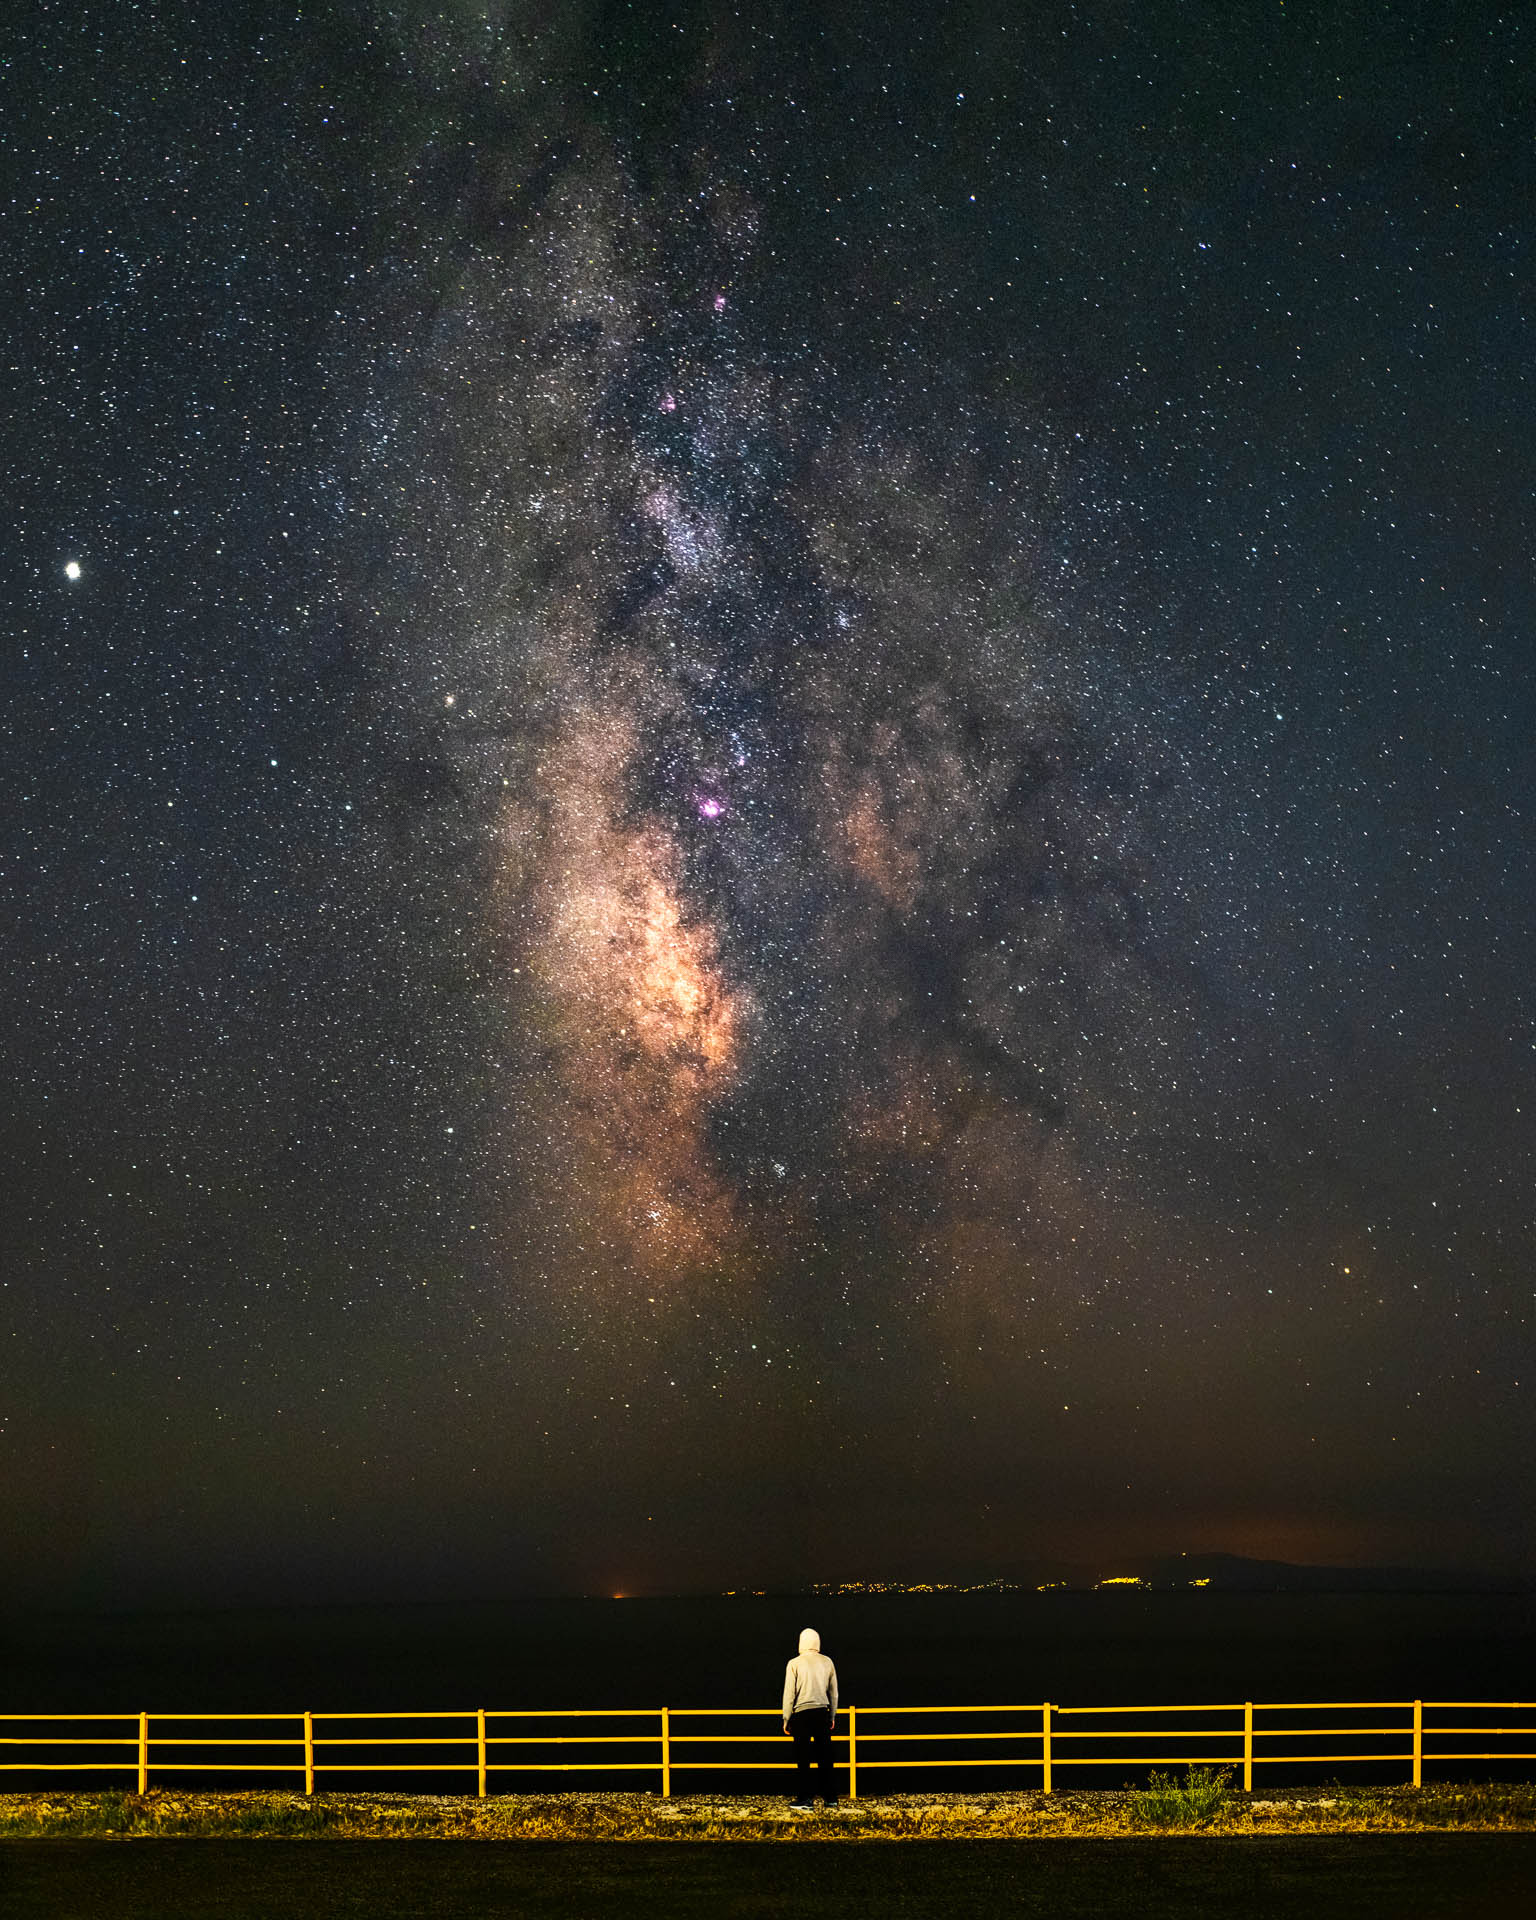
And some last words. Go out and shoot! Experiment and learn your gear! You don’t need the latest and most expensive camera and lens to start.
Feel free to ask any questions or share your milky way shots with me! And clear skies!
